|
Ducati Scrambler Sixty2
( 2015- 2020 ).
Scrambler Sixty2 2CS
Solution
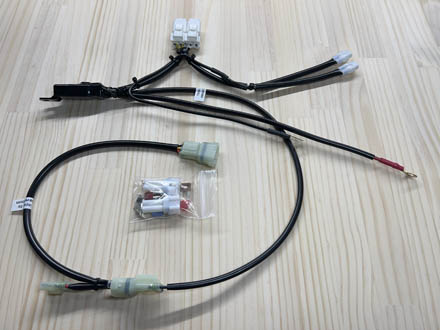
This is a plug and play kit for the Ducati Scrambler Sixty2,
that provides two fused switched output. The outputs
are live, once the motorcycle is turned on. The
switched signal is taken from the rear tail light connector.
-
2CS
Specifications and Features:
-
- comes with an
assortment of ATM fuses, one for each output circuit and
a few extras
-
- 2 hot outputs (2
switched circuits)
-
- Switched circuits
are turned off when the bike is shut down.
-
- 2 ground outputs -
much better to ground your auxiliary circuits here than
on a bike’s frame
-
- maximum fuse panel
capacity 20 Amps
-
- maximum individual
circuit capacity 15 Amps
-
- your can double the
number of outputs by using the splitters available
below.
-
- designed to minimize
space used.
|
Scrambler
Sixty2 2CS - $49.95
|
|
Scrambler Sixty2 Switching
Lead
Connects to the tail light
connector and allows for the stock tail light lead to be
moved to the rear of the bike in front of the seat latch.
Also allows connection to accessory fuse boxes or PDM;s.
Comes with one male connector and seals/terminals so you can
make a cable to your device.
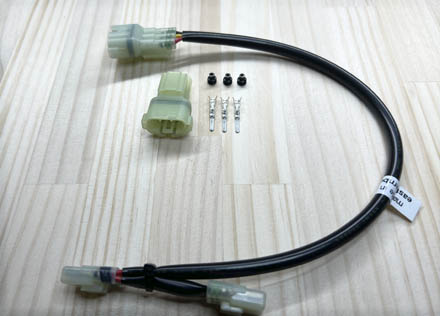
Switching lead for external relay or PC-8R Fuse Box.
Large sheath covers the OEM sheath for a waterproof
seal. Connects to the black/red stripe cable on the
right side of the
rear sub-frame brace. |
|
Scrambler
Sixty2 Switching Lead $14.95
|
|
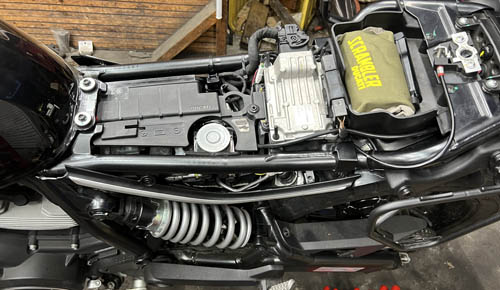
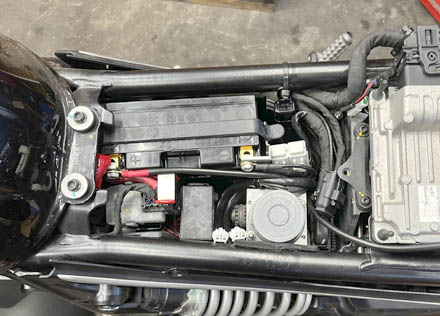
Scrambler
Sixty2 Installation Notes:
- Remove both the seat.
- Remove the battery cover/tray.
- Disconnect the battery negative and tape up the ring
terminal so it does not touch the battery negative.
- Disconnect the battery positive
- Remove the tool kit tray ( there is a connector in
front of it you will need to disconnect ). I believe
there are 2 screws holding it in place.
- We lowered the under tray section, but if you can
access the tail light connector at the back of the under
tray, there is no need.
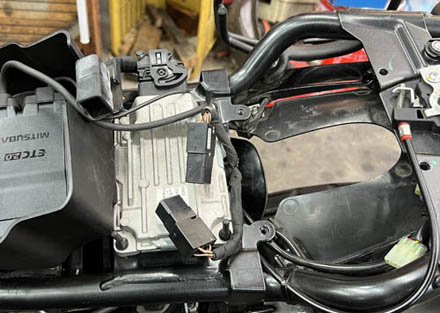
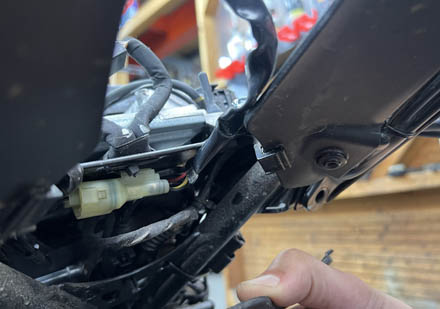
- Pop the 3 pin connector off its mount.
- Connect the 2CS male connector to the bike side
female.
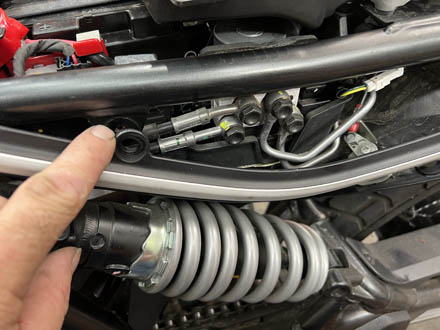
- Fold up the tail light cable towards the rear
of the bike and connect to the 2CS switching lead & the
tail light connector.
- Connect the 2CS (+) lead to the battery.
- Connect the 2CS (-) lead to the battery.
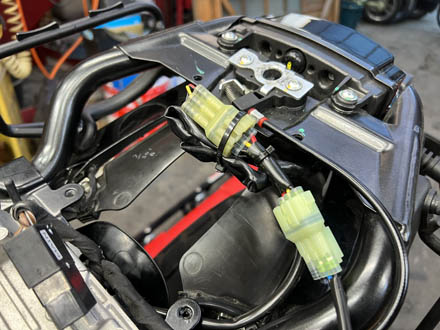
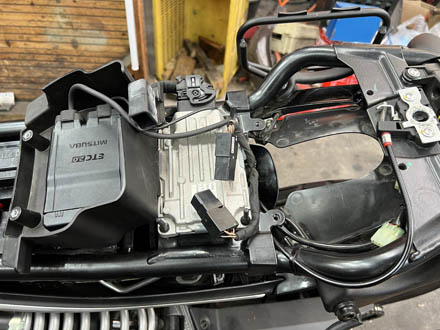
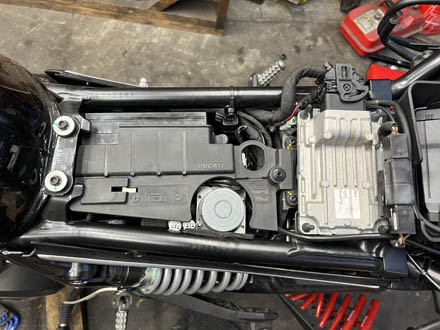
- Locate the components as seen in the pictures below.
- Re install the tool kit holder and if you loosened
the under tail, put the that back in place.
- Wire up your accessories.
- Install the fuses and test.
|