KTM Super Duke R 1290 [2014-2018]
Table of Contents
Super Duke R 1290 PC-8R Fuse Panel
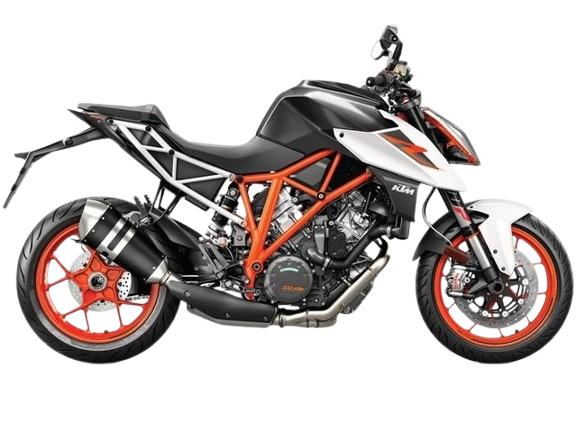
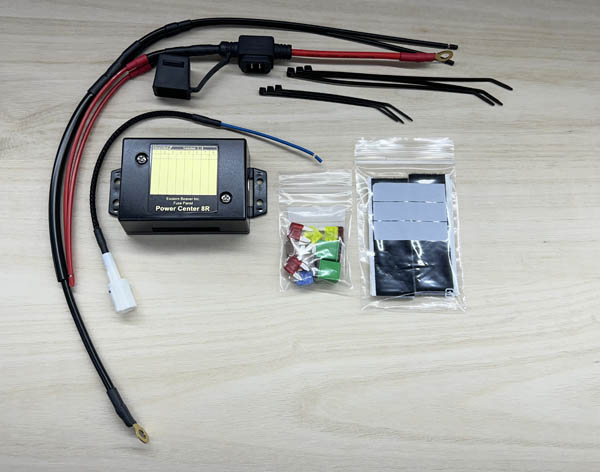
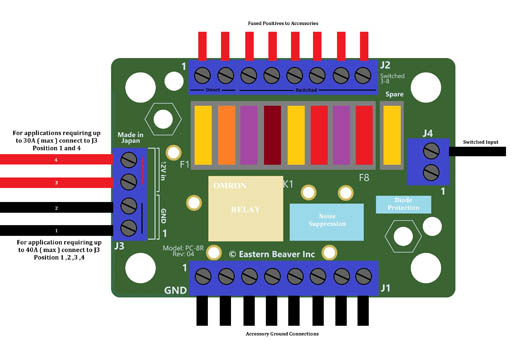
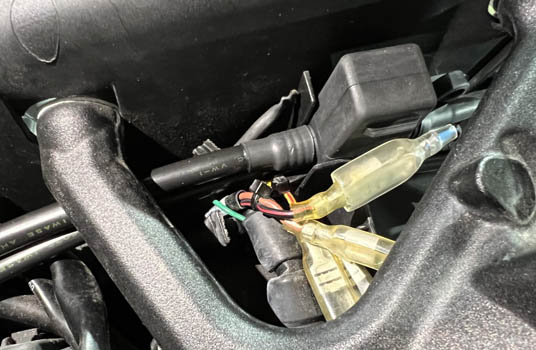
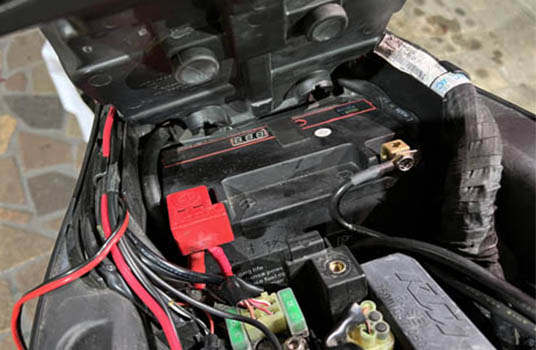
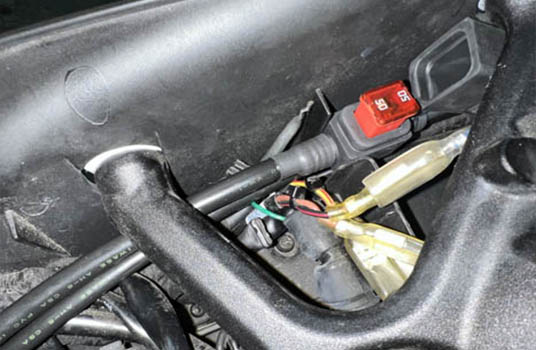
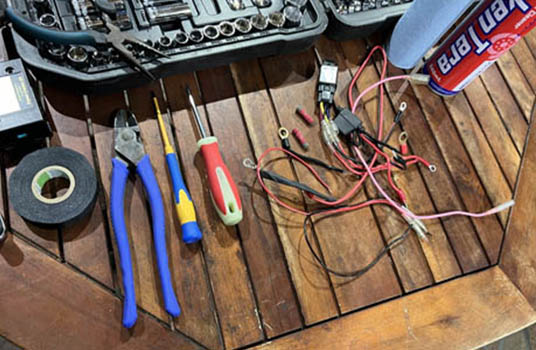
The PC-8R accessory fuse box for the KTM Super Duke R 1290, offer up to 40A capability. Installation is plug and play and
tailored to the KTM. This kit allows for positioning the fuse box at the very rear near the tail light, or under the seat latch brace.
Specifications and Features:
- 4 threaded insert nuts provide case mounting and fuse panel installation mounting points
- comes with an assortment of ATM fuses, one for each output circuit and a few extras
- 8 hot + outputs (2 un-switched circuits, 6 switched circuits)
- Switched circuits are turned off when the bike is shut down. An un-switched circuit is always hot - can be used for charging the battery
- 8 ground outputs - much better to ground your auxiliary circuits here than on a bike’s frame
- maximum fuse panel capacity 40 Amps
- 30 Amp max switched. 20A max un-switched ( combination must be under 40 Amp total )
- maximum output circuit capacity 15A continuous
- maximum output wire size 12 AWG (3 sqmm)
- Spare fuse holder inside the PC-8R case ( can be use to hold 2 spare fuses )
- all hardware is stainless steel (except input posts which are tin plated steel)
- black satin polycarbonate cover makes unit splash-proof yet allows it to breathe and stay cool
- cover mounting tabs on each end can be broken off or left on, depending on mounting choice
- simple robust design means no overheating and no problems with vibration
2023 kit shown. Pre 2020 kits will have different switching lead.
KTM Super Duke R 1290 PC-8R Fuse Box Kit
Includes the power wiring harness, switching lead, spare fuses, cable ties and standard Velcro
$112.95 – $132.95Price range: $112.95 through $132.95
KTM SDR 1290 Generic Switching Lead – [2014-2019]
PC-8R Switching Lead – positive only
Switching lead for external relay or PC-8R Fuse Box. Large sheath covers the OEM sheath for a waterproof seal. Connects to the black/red stripe cable on the right side of the
rear sub-frame brace.
$6.95
KTM SDR 1290 Generic Switching Lead – [2014-2019]
Use for relays or other Fuse Boxes as a trigger source. Blue ( + ) connects to the black/red stripe and black connects to the brown ( there are two brows, either will work ) .
$6.95
PC-8R SDR 1290 Installation Notes
- Remove both the rider and pillion seats.
- Remove the battery cover/tray.
- Disconnect the battery negative and tape up the ring terminal so it does not touch the battery negative.
- Disconnect the battery positive
- The PC-8R as shipped does not have any fuses installed, so bear in mind there will be no power until fuses are installed. Do not install fuses until all wiring and connections are completed.
- Route the PC-8R main power harness down the right side of the bike, under the seat/sub frame brace.
- Connect the PC-8R positive lead and the battery positive lead to the battery + terminal.
- Connect the PC-8R ground lead and the battery ground lead ( remove the tape ) to the battery - terminal. ( take care to make a clean connection to the battery - terminal to avoid power spikes ).
- Remove the cover from the PC-8R ( do not loose the screws )
- Connect the two positive leads to the PC-8R at J3 position 3 and 4 ( see below image ) Support the 4 position screw terminal with once hand when tightening and do not over tighten or you may damage the screw terminal.
- Connect the negative leads to the PC-8R to J3 position 1 and 2
- Connect the switching lead ( blue ) to J4 pin 2
- Route the switching lead parallel to the PC-8R power harness. Connect the male terminal to the black/red stripe female terminal as seen in the below image. The switching lead has a larger sheath that will effect a water tight seal with the OEM terminal.
- Install the main 40A fuse ( LP Jcase ). The main fuse holder will be located near the switching lead source.
- Turn on the ignition and listen for the PC-8R relay click. You can alao touch the relay when powering on the bike to feel the click. Once confirmed the board is know to be powering up.
- Lastly connect your accessories ( ignition off ) and mini blade fuses not yet installed.
- Install mini blade fuses last.
- Check that all accessories are powering up and then reinstall the cover. You can use Velcro of double sided tape to hold the PC-8R in place.
Connections Example
( ground connections can be to any of position on J1. J2 position 1 and 2 are direct J2 position 3 though 8 are switched )
Switching Lead Source
Black & red stripe cable to Female terminal
Battery Connection
You can push any excess lead down behind the battery
Main Fuse
( Install last )
( Install last )
Finished & All Working
The Mess Removed